The pockets can be added when making the top or even if it has already been made.
Firstly you will need -
> 20cms of fabric
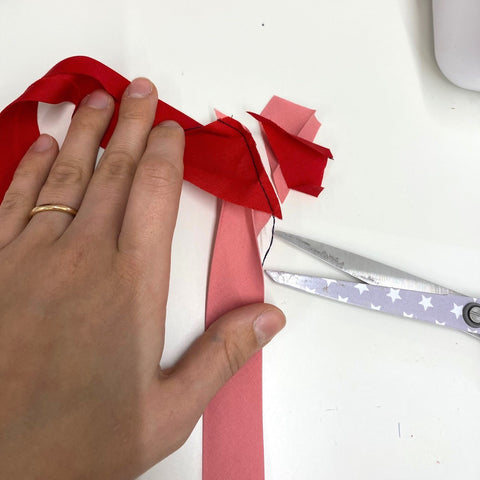
> Scissors
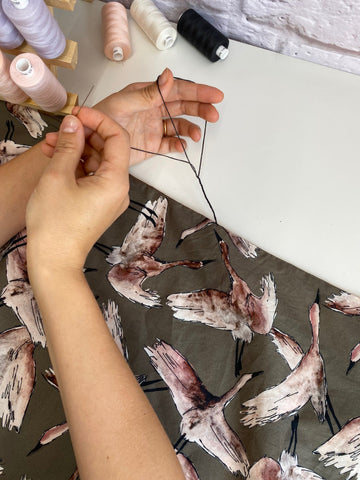
> Thread
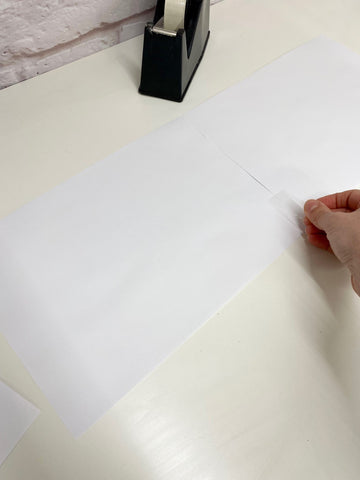
Start by making your template, the pocket size we have used is 6.5" or 16.5cm square. You can of course change the size of the pocket if you wish!
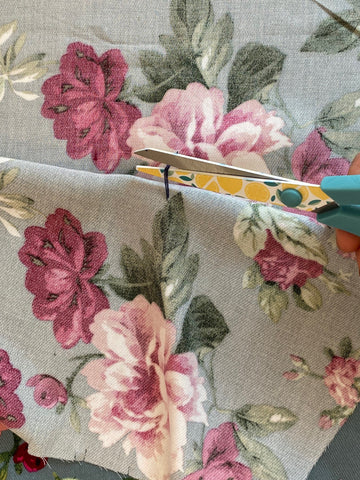
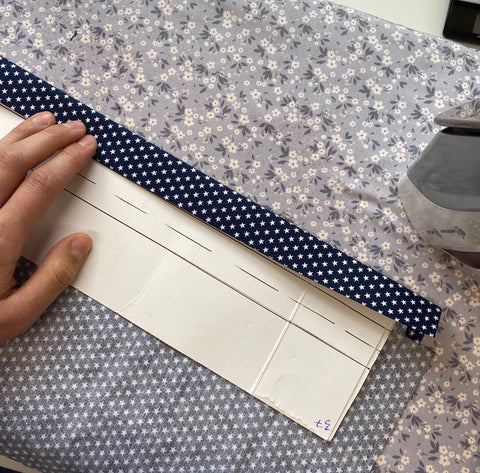
Cut out one pair of fabric squares using the template/measurements above.

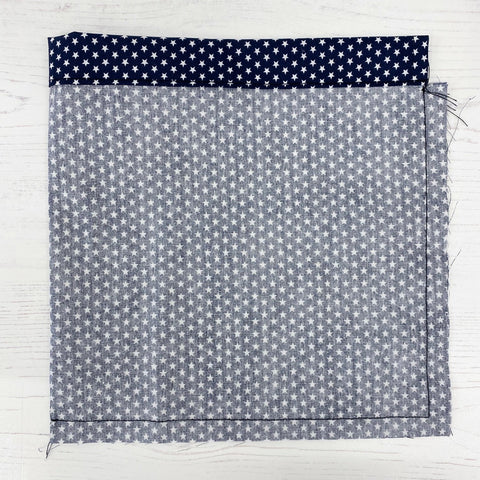
Neaten the raw edges of the pocket pieces using an overcasting/zig zag stitch or overlocker. (Please note we have used a contrasting thread for the purposes of this tutorial.)


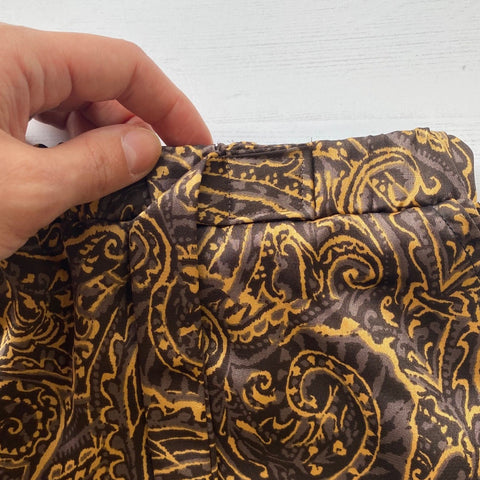
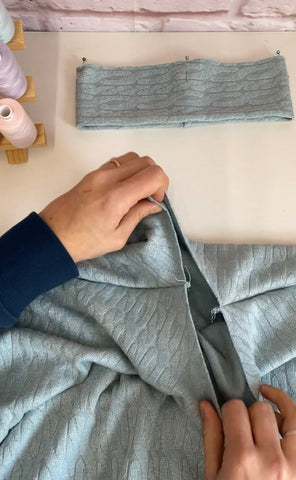
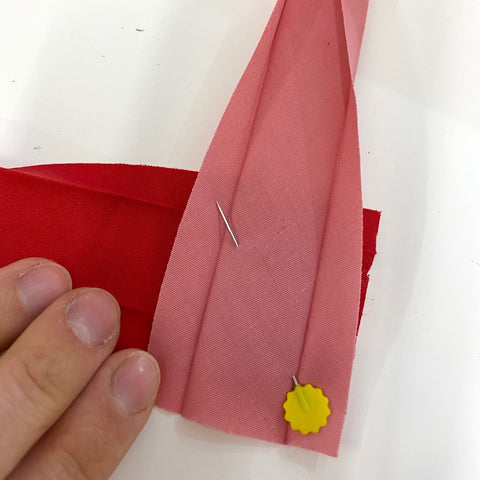
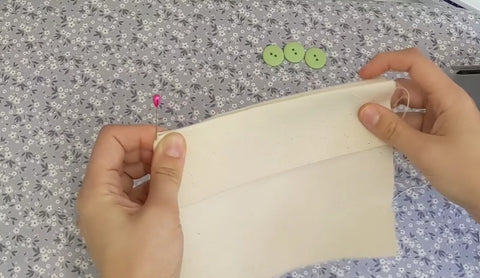
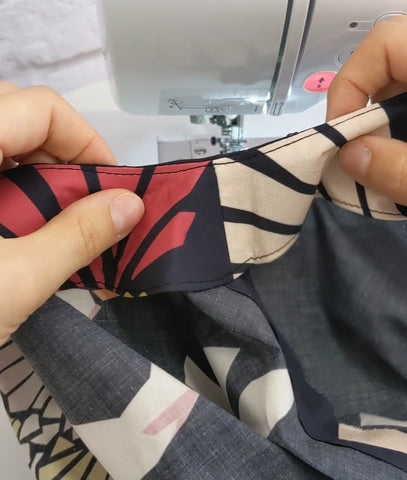
Then, on each pocket piece, fold over the top edge by 1cm and stitch close the neatened edge.


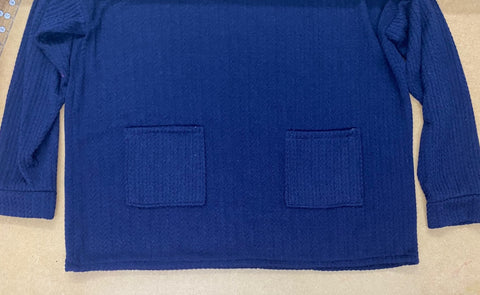
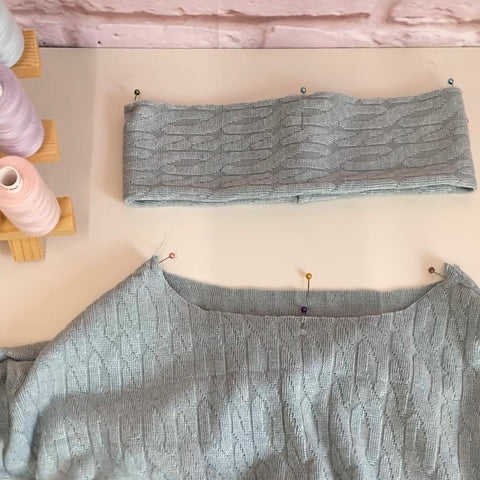
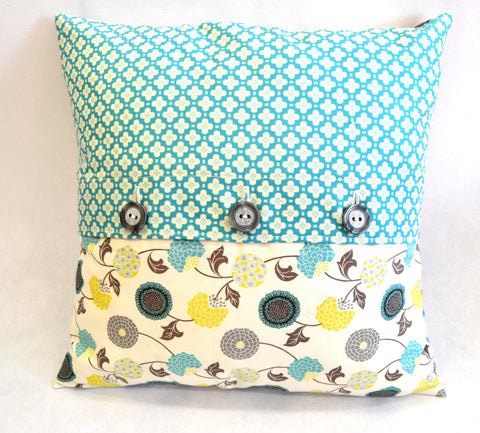
Lay the pockets onto your Orla top main panel, ensuring they are positioned in line and both are measuring the same distance from the outside seam.

Next, fold the remaining three edges of the pockets under by 1cm and pin to hold into position onto the front main panel of your top. It's helpful to pin each side of the pocket first then the bottom edge last, this ensures you have neat corners on your pockets. When pinning, ensure you do not catch the back of the top at the same time when pinning in place.


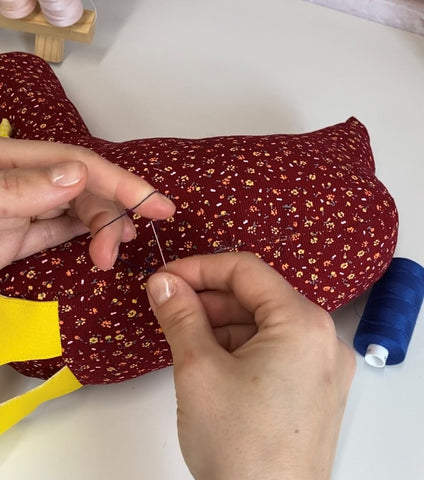
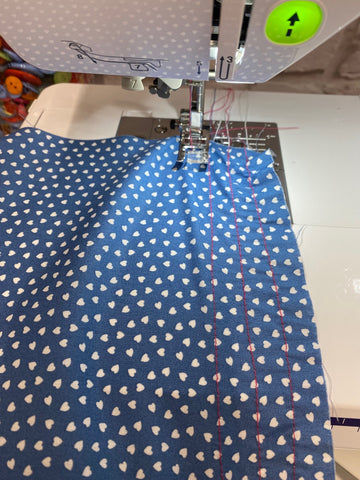
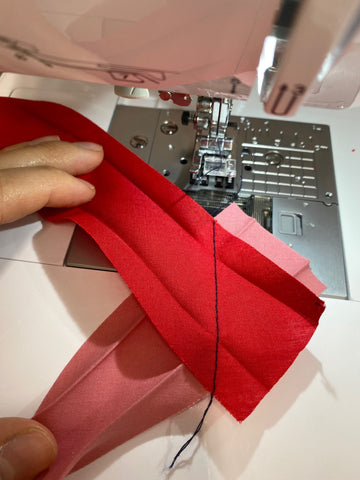
Stitch close to the edge of the pocket through all layers, on three sides of the pocket leaving the top edge open. It might be helpful to move the needle on your sewing machine (if possible) to the furthest position, as shown below we also used a longer stitch length of 3.0mm. Ensure you reinforce your stitches at the beginning and end of your sewing by doing a few reverse stitches. Stitch both pockets into place to secure.


Tah dah! You have finished, hope you enjoy wearing your lovely Orla top and get to sew many more of our easy-to-follow sewing patterns.

Find the sewing pattern and sewing kits to make the Orla top here - https://www.owlandsewingcat.com/search?q=orla
]]>


 Tah Dah! You are all finished. We hope you enjoy using this stitch for many more sewing projects!